Nobody gets excited at the thought of stripping bottom paint from a boat, but this is one of those dirty jobs that’s a necessity every so often. And, in most cases, stripping bottom paint makes less of a mess (and is less of an environmental hazard) than sanding. It’s also more economical than hiring a professional to get the paint off via soda blasting.
Before we dig into steps, we need to lay out a few bottom-paint-stripping ground rules. First, completely read the manufacturer’s instructions before getting started, and follow them to a tee. Some strippers need to be covered with a plastic barrier to prevent the solvents from gassing out. Others can harden, if they’re left applied to the hull for too long. Many need to be applied within a specific temperature range. And some may even damage the boat’s gelcoat, if used improperly. Each is a bit different, so you need to familiarize yourself with the particular product you’re using before you use it. That said:
Step I: Dress in Tyvek or clothing you don’t care about, including eye protection and rubber or nitrile gloves.
Step II: Cover the ground under the boat with a disposable tarp or plastic drop-cloth. Gobs of the stripper and paint will be falling off the boat and you’ll need to contain it. Also, tape off the paint line to protect the gelcoat immediately adjacent to the paint.
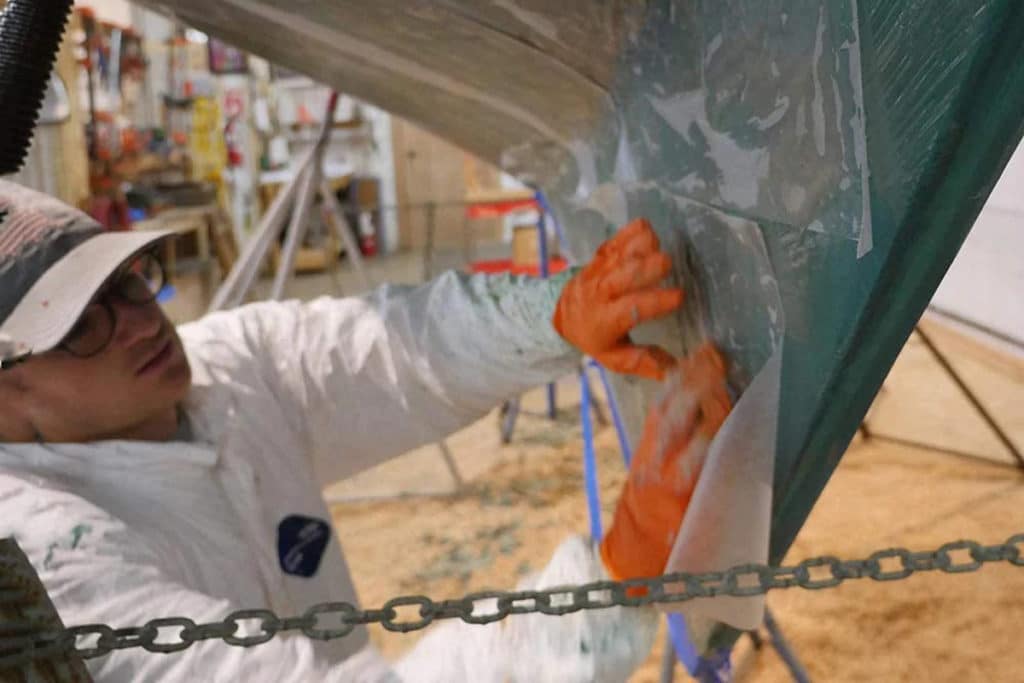
Step III: Apply the stripper as per the manufacturer’s instructions. Usually, this means more or less painting it on with a brush or roller. Some strippers can be sprayed on, but overspray onto nearby surfaces can be problematic. In general, you’ll want to lay it on as thick as possible, but not so thick that gobs fall off of the boat.

Step IV: If the stripper is one of the types that needs to be covered, apply the plastic film or sheets as instructed.
Step V: Sit back and wait. You can’t hurry this stuff up, and it usually takes a matter of hours for the stripper to work to full effect. It’s also critical that you don’t wait beyond the recommended period, or some strippers may harden.

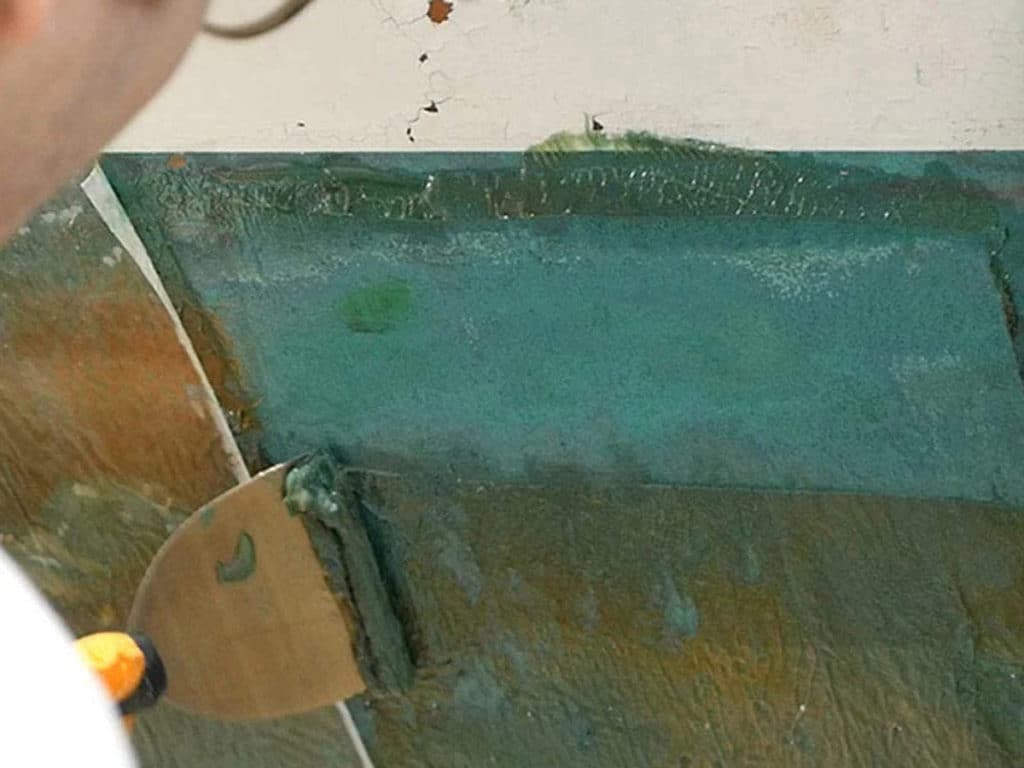
Step VI: With a putty knife or scraper (with sharp edges rounded to prevent gouging the gelcoat), begin scraping off the softened paint. If possible, place a waste bag directly under the area you’re working on as you scrape to catch the falling paint and stripper. Move it as you go and replace the bag as it fills up. Keeping the mess contained along the way will help in reducing the cleanup at the end of the job. Note: Some strippers can be power-washed off in controlled circumstances, however, this generally isn’t recommended for DIY bottom-paint stripping due to environmental concerns.
Step VII: Be prepared to do it all over again. In most cases, the stripper will take off a few layers of paint, but when there are three-plus layers on the hull most products will require a second application.
Step VIII: There will often be some small areas where for whatever reason the stripper didn’t quite do the job, and you may need to sand away some remaining paint. Finally, give the bottom a thorough wash.

With stripping the bottom paint from the boat now complete, you can prep the hull bottom for a fresh coat of paint, and begin the bottom-paint cycle all over again.


