All boaters will bump pilings, kiss rubrails or make an errant screw hole here or there, and those are just a few of the ways minor fiberglass damage can occur onboard. Anytime there’s significant damage to a vessel’s fiberglass, you’ll want to call in a pro, but fixing the minor stuff is actually easy and straightforward. If the damage is limited to the gelcoat, and you know there are no structural issues to worry about, cosmetic repairs can be made in a matter of minutes.
Fixing Chips, Dings and Holes in Fiberglass Gel Coat
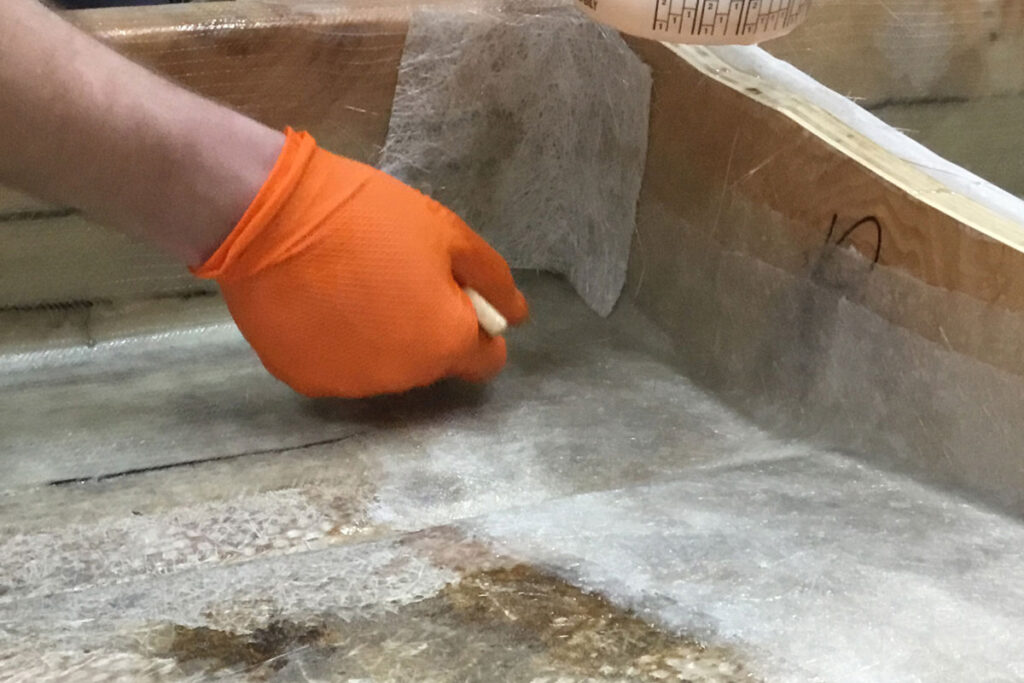
Stage one in fixing this type of fiberglass damage is to clean out the divot. This includes removing any loose chips or fragments, sanding the surface with a fine-grit sandpaper, then wiping the surface down with Interlux 202 or acetone to remove all contaminants. If you’re filling in an old screw hole, be sure to sand the edges and roll up a small piece of the sandpaper so you can insert into the hole and sand the inside edges too. Do the same with a rag and the 202 or acetone to clean it out. Now, you’re ready to fill in that blemish.
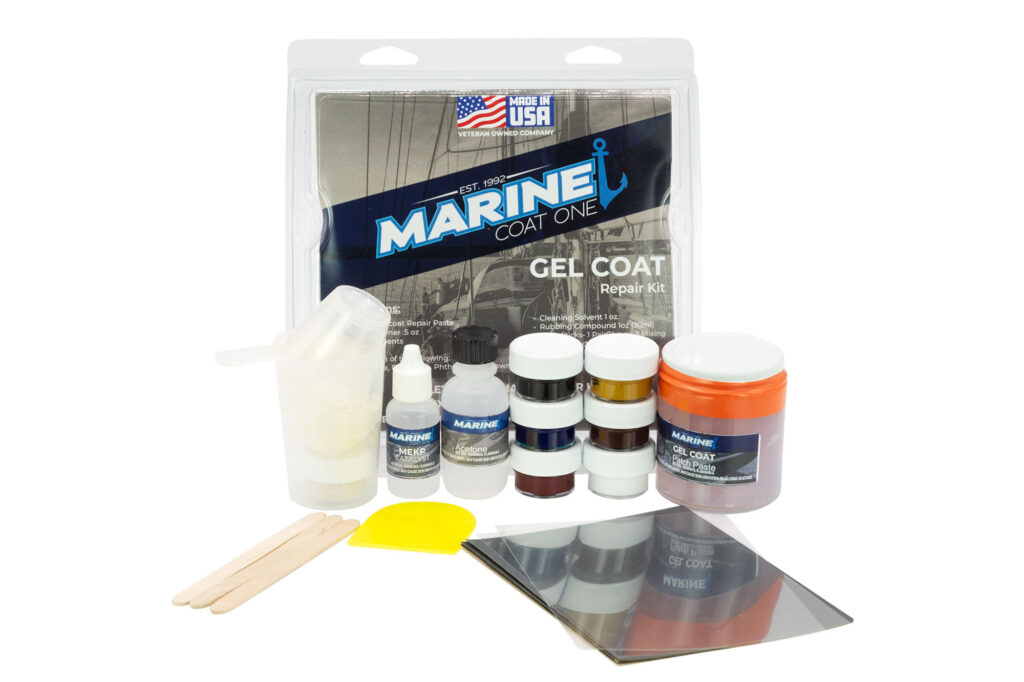
Gelcoat paste will do the trick, and you can use a regular putty knife to create a smooth surface that fills all the gaps. But there’s a complicating factor: you’ll need to color-match the paste with your boat’s original gelcoat. There are literally hundreds of shades and tones of gelcoat, and you’ll have to custom mix your own batch. Start with a neutral white gelcoat paste, then add small amounts of pigment and mix it in. Most gelcoat repair kits will come with several coloring agents allowing you to mix up just about any combination, so if your boat is anything but plain white, it’s usually best to get a kit rather than buying a single pigment and trying to match the correct shade.
Here’s the kicker: when the gelcoat dries, the color often changes slightly. So, what looks like a perfect match upon mixing may turn out to be slightly off when it hardens up. To combat the issue, carefully mix several batches with slightly different paste/pigment ratios that create slightly different shades, allow them to dry, then compare them with your boat’s existing gelcoat. When you find a match you can live with (getting a perfect match is virtually impossible), remix it. Now, you’re ready to spackle it into the damaged area. Make sure to overfill it just a bit and don’t leave any air pockets. When you’re satisfied, cover the gelcoat paste with plastic wrap or a similar film (often included in kits) because gelcoat cures best when it’s not exposed to the air.
After it dries completely, lightly sand the area with extra-fine sandpaper until the overfilled area matches up with the pre-existing surface. Then wet-sand with a super-fine grit sandpaper until the surface is completely smooth. Finally, give the area a couple of coats of paste wax.
Fixing Cracks in Fiberglass
Fixing cracks is a bit tougher, because they don’t have enough surface area for the gelcoat paste to adhere; you can’t just smoosh it in there and hope for the best. First, you need to open up the cracks with a Dremel tool. Use a silicon carbide or tungsten carbide bit shaped like a cone, and be sure to grind deep enough to expose the uncracked fiberglass beneath. Keep in mind that adding lots of pressure to a Dremel won’t produce the best results. Instead, run it along the cracks multiple times with light pressure.
When the cracks have all been ground away, sand the exposed areas with fine-grit sandpaper to remove any burrs or jagged edges. Then wipe down all the areas with Interlux 202 or acetone to eliminate contaminants.
From here on out the repair process is the same as for chips and dings. However, if the cracks surround a high-stress area like the attachment point for a rail or a T-top support, there’s a good chance the cracks will reappear over time. It may be necessary to add backing plates or some other form of structural support to prevent a recurrence.
What about making repairs when the raw fiberglass cloth beneath the gel coat has been damaged? At that point, it should really be considered major as opposed to minor. So, if shards of matt or woven roving are showing call in the pros.