Sure, it’s natural to be a bit depressed when the boating season comes to an end, but keep your chin up and a smile on your face because in a few short months you’ll be ripping away that shrink wrap and prepping for spring again. When that time comes, you’ll want the boat to operate just as smoothly as it did when you put it to bed in the fall, and properly winterizing the engine(s) and generator will ensure that it does.
Whether you’re working on the main propulsion system or a generator (diesel or gasoline), in all cases the boat-winterizing process can be broken down into five steps:
- Stabilize the Fuel System
- Change the Fluids
- Drain and/or Winterize the Cooling System
- Visually Inspect the Systems
- Seal and/or Protect any Openings to the Outside
Stabilizing the Fuel System
You’ll want to lay up your boat with full fuel tanks to prevent condensation from forming, however, all fuel has a shelf-life. Over time, varnish and gum can build up in diesel fuel, and gasoline loses octane. If the gas has ethanol in it, the dreaded phase separation can set in too. Adding in a quality fuel stabilizer is key if you want a successful startup come spring. And, after adding it to the tanks be sure to run the engine(s) or generator long enough to allow the treated fuel to work its way all the way through the systems.
Change the Fluids
Now’s the time to change the engine’s oils (including lower unit or transmission oil) and, in the case of a closed-cooling system, the coolant as well. All of these fluids deteriorate over time, and with use. Old oil builds up acids and contaminants, and the corrosion-fighting additives in coolants and antifreeze wear thin with age. You’ll want to change all these fluids now, not in the spring, to prevent those contaminants from doing any harm over the winter.
Drain or Winterize the Cooling System
Any engine’s cooling system needs to be completely drained of all water and/or have antifreeze added to prevent freeze damage. Fail to take this step, and the results can be catastrophic. Generally speaking, this will include bringing the engine up to operating temperature and then pulling drain plugs and/or replacing water with antifreeze (excepting outboard engines, which drain fully when tilted all the way down). That said, every manufacturer has its own recommendations for how to perform the task. In some cases, failing to have an authorized dealer perform the winterization may even void the warranty. So, we aren’t going to get into specifics here — you’ll need to refer to the owner’s manual for your particular engine or generator to ascertain exactly what needs to be done.
Visually Inspect the Systems
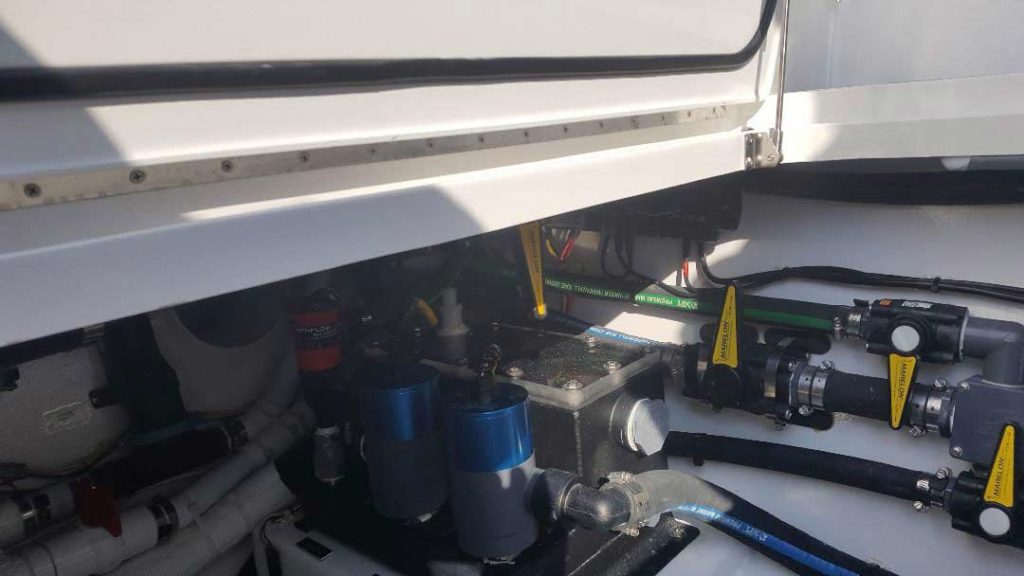
Prior to putting the boat to bed for winter, take the time to inspect hoses, belts, electrical connections and all the other visible exterior parts on the engines and generators. In fact, now’s the time to inspect all the hoses, wires and other items in the engine room that are subject to aging, whether they’re attached to the engines and generators or not. If there’s a problem like a cracking, aged hose, spot it now and you’ll have plenty of time to have it fixed before the spring rolls around. But if you wait until the weather begins warming back up to perform these basic inspections, the boatyards and mechanics will be busy and it could lead to significant launch delays.
Seal and/or Protect any Openings to the Outside
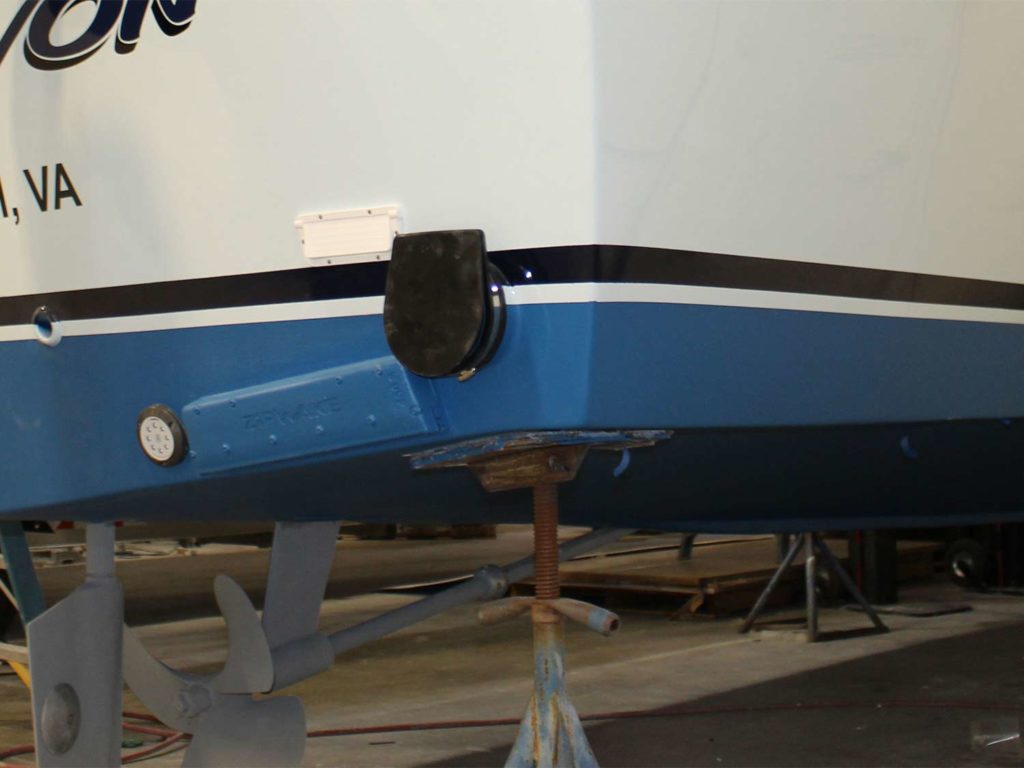
Finally, you’ll want to seal exterior openings like exhaust ports and water intakes (most people simply tape plastic over them and/or tape down flapper valves, if present). This will help keep out moisture, but just as important, it will help keep out critters. Nothing is worse than getting ready for a spring shakedown cruise only to discover a nest of wasps or a family of mice has decided to take up residence inside your boat.
Winterize your engines and generator properly and come spring you should be back out on the water in no time. That alone should be enough to keep a smile on your face all winter long.

